12.10.2012

Christmas Cookies

A few nights ago, we decided to squeeze in some Christmas cookie time:)  J's schedule is terrible this week, so that night was about the only time we could do it, so we could at least enjoy the fruits of our labor.  I used a new recipe that I had tried a few weeks ago, that produced delightfully tasty sugar cookies that had lots of the chewy factor.  Turns out, that recipe was not good for making shapes.  It spreads.  A lot.  You can see in the first picture, we came out with several blob cookies.  Jason even decorated one with a big "?", another one just got lots of green frosting and sprinkles.  Still tasty, just not very pretty!
 
A view of our finished cookies, while drying.
 
 
Jason's puffy angel.  He even gave her little sprinkle eyes:)  I must say, he salvaged this one.  It was huge, and we could barely tell what it was.  He pulled it out.


Some of my creations.  We did what we could.

 
So, we got wise.  Or, so we thought.  We figured that if we just left the metal cookie cutters around the cookies and let them bake, that they would hold their shape.  They did, but we ended up with "cookie biscuits".  They have the thickness of biscuits with the taste of sugar cookies.  Hey, we may have hit on something new ;)  (Note: the cookie cutters stay hot.  For a while.  I have a mark on my finger to prove it.)
 
See our thicky-thick cookies:


I must say though, they are extra chewy, and when the middles sunk, it left a nice little rim to hold the frosting in place.  Once they were set, I put them in my new Christmas tin.  Walmart is carrying a whole line of Thomas Kinkade Christmas stuff this year (mabye in memory?).  I found this tin, and it looked so vintage to me.  I can remember old tins of my mom's that she inherited or had had for years looking a lot like this.  So, it came home with me for about 4.00.  If I didn't already have tins running out of my ears, I would have brought the other 2 designs home too.


It was fun, it always is with J.  He is creative and thinks out of the box, while I try to make each cookie a work of art.  It makes for interesting conversations and lots of laughs.  Definitely one of my favorite traditions.

12.07.2012

Mike's Farm 2012

Ok, I really did have good intentions to do lots of Christmas posts, and again, I'm starting later than I wanted.  But thanks to blogger, I am apparently out of photo storage and can only upload through Google+, so that took me a hot minute to figure out.  Plus, I've been battling the worst kidney stone EVER.  2 weeks and it hasn't passed.  Urologist can't see me until January 3rd.  Nice.  Thank heavens for good meds.  I'm telling you, never had pain like this ever (if you've had one, you know what I'm talking about, I though I was dying, apparently my body did too because I couldn't stop throwing up from the pain).  The first week, I was so doped up, I couldn't even drive.  But thankfully, this week hasn't been as bad.  Praying it's on it's way out.  Ash, Matt, Austin, and Alaina were here when it happened, I don't know what I would have done, they were AWESOME!  Jason's wonderful command wouldn't let him come right away, go figure.  God was looking out for me, for sure!  Anyways, enough of that.
 
So, this year will probably be our last for Mike's Farm.  It is and has been one of our favorite Christmas traditions for years.  We started going with our original (and first) group of friends here in Jacksonville.  Sadly, they are all gone, and J and I are the only ones left here.  This year, we invited our new friends, Chris and Ashley (and baby Lilli) to go with us.  They had never been, and I think they had a good time.  Who wouldn't love Mike's Farm!?  Country dining with a rustic farm atmosphere, and Christmas lights hayrides!
 
Waiting for the restaurant to call us:
 
 
There's always a wait, so we snacked on chocolate covered marshmallows and hot chocolate.  Oh. my.
 

Sweet little lanterns with wreaths are all over the place giving a warm glow.

 
Lotsa lights everywhere!
 
 
He's so handsome.  He is a trooper too..this was after 24 hour duty, you can tell he's beat.
 
 
The start of the hayride with Chris, Ashley, and Lilli.  Isn't Lilli precious!?
 

The light show..every year it gets bigger.  I didn't even get some of my favorites, my phone died before the hayride was over.


An old gas station and car (got this one for my Austin).


Sweet little forest with a bridge over the "creek".


I'm pretty sure this is a moonshine setup...


And, no, the live nativity was not next to the moonshiners, lol!


We had a really good time, it was chilly and clear out..perfect seasonal weather.  They even have a snow machine at the end.  REALLY got me in the mood for a good snow.  I so hope we see some this year!  Today is near 70 degrees out though.  Makes me sad.  I sure hope it turns cold fast, I don't like tropical Christmases.  I have it chilly in my house, and I'm pretending it is cold.  It's raining today, so that helps me feel like it is not as warm as it is.  I'm working on taking pictures of all the Christmas decorations at our house, and hope to get them up soon.  I just have to get a few of the lights at night because it's so much cozier:)

11.19.2012

An Autumn Craft & Mantle

When I saw this sign and a tutorial over at Ella Claire, I knew I wanted one.  Mine is a little different, but the full tutorial can be found at the link, since I can't take credit for this beauty.  I used my Kreg Jig to butt 8 boards up together, and I measured the length to match the width, so I had a big square.  Then I saved and uploaded the template to www.blockposters.com (the template is from the tutorial, and she so graciously shares it for free!) to get the size I wanted.
 
See:)
 
 
Then I painted the whole thing with acrylic paint by Apple Barrel in Antique Parchment.

 
And then spot painted with some left over blue, it was by Valspar and the color was Vintage Blue.


Like this!

 
After that, it was a bunch of sanding, then I traced the template with a pencil to leave the indentions in the wood.  Then I painted it all.  For the word Pumpkins I used Folk Art Lipstick Red, and shadowed with Apple Barrel Golden Sunset.  Apples was done in Apple Barrel Melted Chocolate.  Hayrides was done with Folk Art Pure Orange.  The arrow was done with the Melted Chocolate and outlined with the Golden Sunset.  Then, I measured and lightly drew a border around it, and painted it with Folk Art Coffee Bean.  Then, I hand sanded very lightly just to rough up the letters and edges a bit.  The last step was that I decided to stain it a little bit, so I watered down the brown paint (a lot, it is supposed to be very watery), and used a sponge brush to wipe it on, and a paper towel to wipe it off. 
 
And voila!
 

Here it is all set up on my mantle for fall!  I am in love with the way it turned out, I also made a quick Autumn banner out of burlap and braided twine to string across the front.  I cut out some large letters using my Cricut to trace onto each piece with a black sharpie.  After I braided and braided the twine, I hot glued each piece to it, spacing them about 1 1/2 inches apart.  Easy and cute!


On the hearth, I added some candles, pumpkins, and pinecones. 


Remember those clearance lanterns from Big Lots, I painted them black, and hung them above the mantle from garden hooks from Lowe's.


Candle holders now holding pumpkins.  The lanterns worked there so well.


A vase of leaves completes the other side.


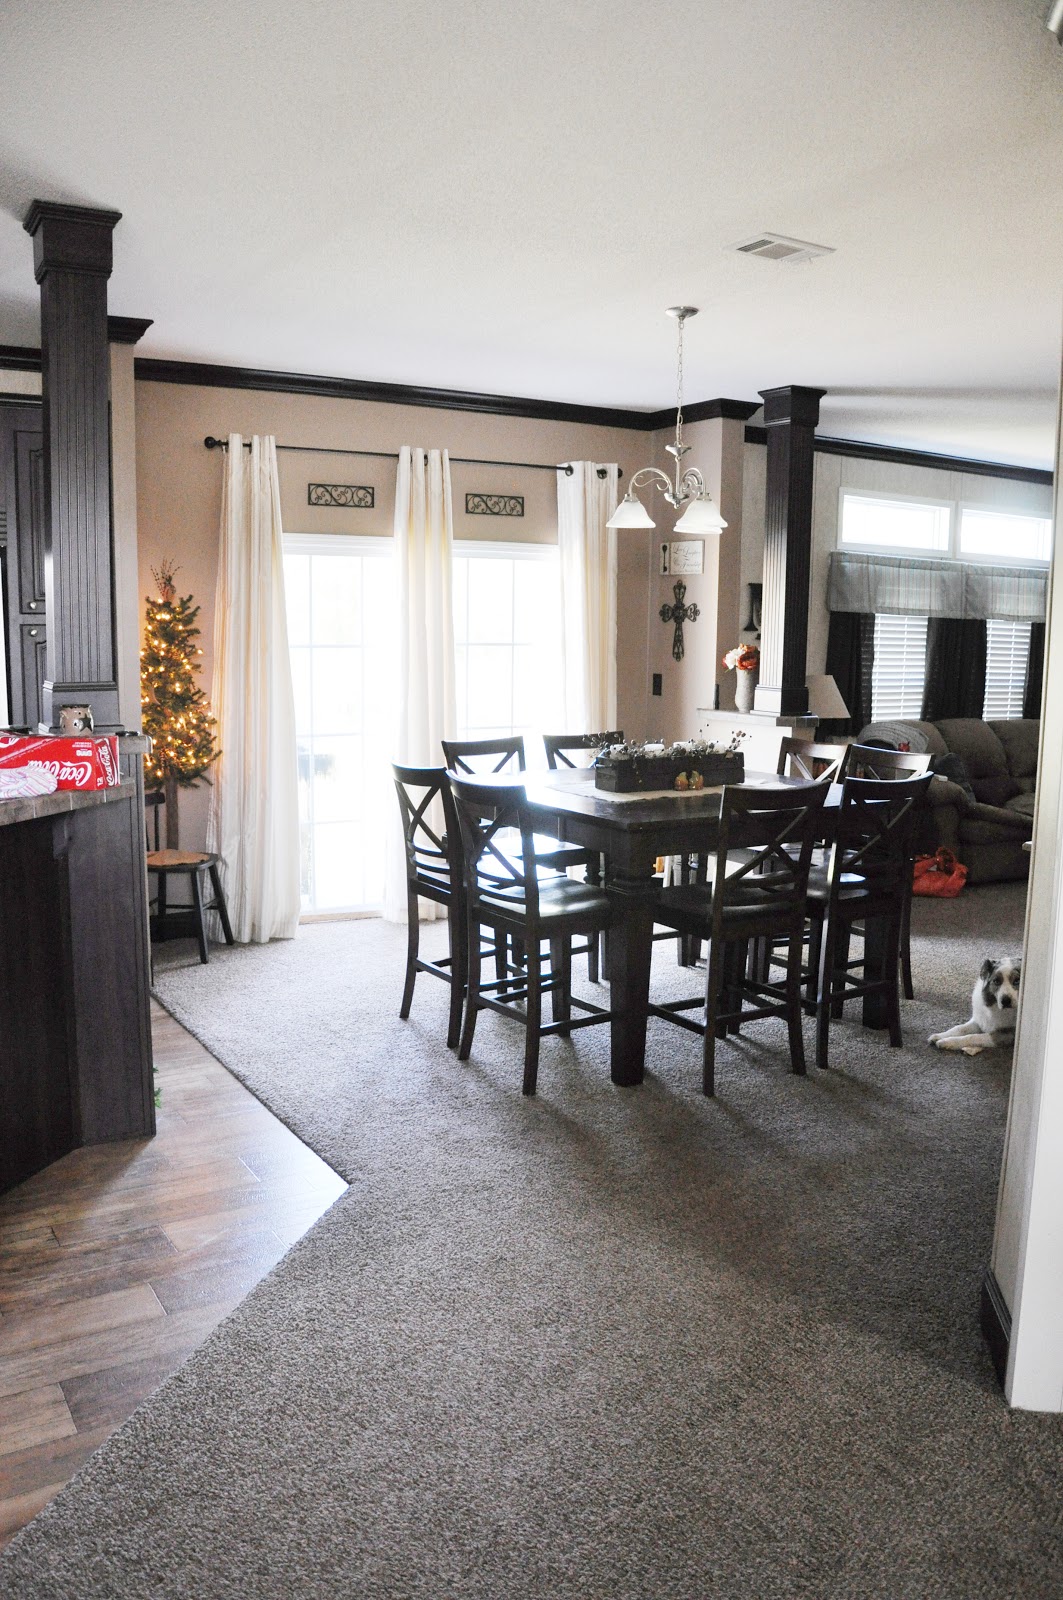
It's definitely my favorite Autumn mantle to date.  Oh, and notice our new accent wall around the fireplace.  We did that recently too.  It's a paint by Valspar called Hotel St. Francis Fawn.  It matches our couches very well.  We also painted the dining room the same color, so it kinda ties it together and breaks it up too, since the dining "room" is actually a space between the living room and kitchen/den area and not really a defined room.
 
I really like it, we added some extra long curtains to the sliding back door, and it gives it a more elegant look and fills the large space over the door with the 9 foot ceilings.  I love how Kojak photobombs a lot of my photos.  Oh well, he's a handsome boy, I guess he figures he should be seen.


Ok, now that you are all probably tired of looking at a million pictures, I'll wrap this one up.  I can't believe it's been over a month since my last post.  I took a much needed break, and we went on vacation, and about a million other things.  I will be back with vacation pictures, and some Christmas crafting very soon!  I love fall, and am a little sad it took me this long to get this post up.  I was down to the wire because, now all my fall stuf is put away, and most of my Christmas stuff is out, so I had to get this one in there before anything else, and before Thanksgiving in 3 days..can NOT believe that it is so soon.  Ok, for real.  This is the end now.

10.08.2012

A Few Fall Favorites

1.  Butter London nail polish.  I've never tried it before, and I had a 3.50 off coupon for Ulta (which is the only store that carries it around here), so I picked up the normally 14.00 bottle in the color All Hail The Queen.  I'd seen it numerous times on pinterest, and really liked the color.  It lived up to it's hype.  It's so pretty for fall.  And I'm on day 5 with no chips, that's a record for me!  I really like this formula.

Here it is on my nails:


 2.  Dunkin Donuts!  It is so "fall friendly".  With all of their wonderful pumpkin drinks, apple cider, pumpkin muffins and donuts, and the new apple orchard donut (YUM), it is hard to stay away.  I've done good, but man, sometimes, ya just gotta.


3.  This pumpkin scones recipe from here.  It's supposed to be like Starbuck's.  I have not tried these at Starbuck's, so I don't know if they are.  But I can vouch that they are GOOD!  I made them one morning when my fam was here last weekend, and the leftovers gave me breakfasts for a few mornings.  This was a leftover, I didn't have any more of the spiced drizzle, so I just drizzled plain glaze over it, still amazing.  Paired it with some coffee (and pumpkin spice creamer), and it was perfection.  (Sorry about the fuzzy picture, low lighting and my iphone, but you can still tell how divine it looks.)


I'm so happy fall is here, and today actually feels like fall here at the beach!  Highs in the low 60's!  Just wish it was sticking around.

10.06.2012

A Work Bench For Me!

After my sweetness disappeared outside for a while one afternoon, I went to see what he was up to.  He was out in our shed, cleaning it out, and figuring out a plan on how to add a work space for me in our smallish work area/shed.  It was going to be complete with a flip up design so that we can move it to get our Christmas tree in and out of the corner come that time (which is SOON!).  With this plan, we needed to run to Lowe's for a few supplies.  Hinges, hooks/latches, and wood.  After wandering around this hardware wonderland, we just couldn't justify spending 30.00 on a piece of plywood that we were only going to use about a third of!  That's when we happened upon the scrap (already cut) pieces by the big cutting machine, 3 pieces about the perfect size were just being tossed off.  After flagging someone down, we asked if we could buy scrap pieces, and the guy told us we could just take them.  YES!  He just saved us 30 buckaroos, making the whole project a little under 25 dollars.  He made my day.  Well, after J did by configuring this whole project.  I got my day made twice;o)  So, home we went with the wood spanning the length of our car, over the folded down seats, and into the trunk.  But it fit.
 
Taking the wood home to get started.
 
 
Our 3 free pieces.
 
 
After some more planning, we decided to use the Kreg to butt two of the pieces together to make the top, then J framed out the bottom for extra support.  (The third piece of free wood is going to go on the top of an old broken saw horse to become a spray painting bench for me.)
 

Getting ready to attach the table top to the wall.  It was way heavier than it looked!


Added the hinges on the top to fold up, and then put on the hinged table legs that would swing down out of the way of aforementioned tree (see corner).  J also put little leg stops that are low enough on the floor that we won't trip over them, but just high enough to keep the legs in place when the table is in use.  Smart fella, that J.


Then we added two hooks to attach it to the wall in the up position when needed.


Folded up, it is so functional.

 
And then I got to add all of my stuff!  What you can't see is the other side of the shed where J's work bench is.  Mine is so much neater and prettier.  He keeps trying to sneak some of his overflow over from his bench to mine.  I'm hip to his tricks though.  They get tossed back on his side with the quickness.  No mess on my side!  Well, unless there's a project happening, but then it's only temporary mess.

 
Isn't it just SO neat (neat as in cool, but it is neat too..did you expect any less?)!  My hunny really is good to me.  Love you, Sugar Britches!
 

10.04.2012

New Hand Towel Holders

Our guest bath (the master too, really) needed some hand towel rings/holders.  I didn't want to go buy any, so we started looking through our scrap wood, and found enough 1x2 boards to make some.  The inspiration came from here.  But instead of horizontal boards, I did vertical.  I used three at 8.5 inches each, attaching them with the Kreg Jig on the backs.  I stained each board before attaching them, using Rustoleum stain in Dark Walnut.  I made a few rosettes from some extra white linen that I had from a pillow case and hot glued those suckers on, added some rubbed bronze hooks on there from Lowe's, found here, for only 1.46 a piece (score!), and attaced some saw hangers on the top corners of each one, and hung 'em!  I think they work perfectly in there.  (Sorry about the lighting, I was in a hurry, and there is not a lick of natural lighting in our guest bathroom, but you get the idea!)


Quick project that took me all of about 45 minutes to make both, and now each wall/sink has it's own towel hook.  Love it:)