Showing posts with label Projects. Show all posts

6.18.2013

Summer Mantle

I love switching out the themes on my mantle, but after Thanksgiving, Christmas, Valentine's Day, and Easter, I was looking for something I wouldn't have to change through the summer.  This is what I came up with.  I am digging it.  It's a little coastal, a lot summer, and nice and bright.


I made the big wooden "flag".  I had a few pieces of 1x3 board, and I had J cut them into 2 ft. pieces, I attached them together with the Kreg Jig on the back after staggering them randomly.  To paint it, I used some leftover blue and white paint.  The white is just an acrylic white paint by Apple Barrel, and the blue was from our dresser update, found here, it is a Valspar color called Vintage Blue.  The metal stars were from a little garland that I pulled off, and spray painted white, then roughed them up to let the metal show through a bit.  I hot glued them on with huge globs of glue.

And to finish, I had to rough up the edges a little, and sealed it with a satin sealer.  I accessorized with stuff I already had, milk glass, candle holders, grapevine balls, a fat birdie, candles, and flowers.


I definitely think it will carry me through summer.  Plus, it was perfect for Memorial Day, and for the 4th since it's sorta patriotic.  Almost all of my patriotic stuff is now in the office since it's kind of our military themed room.


6.15.2013

Dresser Salvage

I heart free stuff.  There was a house down the road (a single mom) who was moving, and to save some of the hassle, she was giving away certain things that they didn't want to move, or didn't fit in the new house.  J and I quickly snatched up this small dresser as I had big plans to use it as extra storage in my office/craft space.  It was a wooden dresser, unfinished, and in pretty bad shape, but I knew I could do something with it.  Two of the drawers were chewed by a dog, and there was no saving them.  The knobs were also unfinished wood.  I sanded it, painted it with a flat no-so-bright-white paint, stained the top with Rustoleum's Early American stain, and then roughed it up with the sander.  I removed the knobs and spray painted them with rubbed bronze spray paint, they turned out really pretty, and it saved me from having to buy 11 new knobs!  After painting, I sealed it with a a stain spray sealant.


For the empty drawer compartments, we used some Gorilla Glue and put in some thin white panels we had laying around from another project to make a shelf for some baskets, in place of the damaged drawers.


I looked for about a week, when I finally found these at Michael's.  I hadn't seen these the first trip, but they were the perfect size and fit nicely.  I like the different browns in the baskets, I think it ties the lighter top in with the darker knobs.


You can't beat free!  And the extra storage has been so nice!  Plus I have a better place to put my gargantuan printer.  The little plastic drawers it was sitting on were giving out.  I'm pretty proud of this project, I did (almost) all of it by myself:)  Jason helped a little.

6.11.2013

Master Bathroom Project

Oh, what a mess we've made over the past week!  About a month and a half ago, I pulled all the batting strips off the walls in the master bath, thinking that would motivate J to do the drywall.  I finally convinced him it had to be done before our friends come visit on the 20th.  Crunch time!  He has been working so diligently after work/school, and over last weekend (man, I love him!).  As of today, there is only a little sanding left, and then clean up time!  You cannot even begin to imagine how much this forces the OCD into overdrive.  Even though we have closed it off, the dust still escapes.  And it gets.every.where.  But the drywall looks fabulous, and I am so excited to get painting.  We also got stuff to frame the mirrors and new light fixtures.  I'm wanting a light green in here.  I think it will look beautiful against the darker wood.
 
These are kind of the beginning/before pictures, right after J had put on the first layer of drywall goop (that is my very technical term).


This corner was difficult.  They do not sell 45 degree angle drywall joint pieces.  There was much hammering and bending involved, but once again, J didn't fail to impress me.  It's looking so good!  This is the corner that we are waiting on..it is taking twice the time to dry, so hopefully today will be the last sanding for it.  (This picture is right after he put the first coat on..it looks so much better now.)


Handsome working so hard.

 
Ummm..yeah.  This is why I'm cringing.  I hate this dust.  Hate it.  I cannot wait to get in there and wipe it all down, sweep it all up, and mop it all away.  It looks like a fine, smelly, gritty dusting of snow.  I would prefer snow, I think.
 

More pictures to come...

6.10.2013

Unrelated

I have been on a major break from blogging.  I think my head is back in it now.  I just wasn't feeling it for a while, but I feel like it's time to pick it back up.  This post is just a few random pictures I had wanted to blog about, but never got to, so they kind of got mashed into this post together.  Random.
 
I am kind of obsessed with beauty/hair blogs and YouTube channels.  My mom directed me to TiffanyD who has wonderful tutorials.  The one I used for this hairstyle is here.  My hair is shorter than hers, but it still did exactly like she said it would.  And the Paul Mitchell Hot Off The Press spray is wonderful.  I love it, but it's kinda pricey.  I got lucky, and found some at a wholesale place that a friend of mine, that does my hair, has access to since she has her cosmotology license.  Much more reasonable price, and that makes me happy.
 

I made a new wreath for our front door with some neutral colors since the front door is in direct sunlight for most of the day, my wreaths seem to fade pretty quickly.  I used flowers from Hobby Lobby, and hot glued them into an oval grapevine wreath, and painted my last name initial wooden letter (also from Hobby Lobby) with Antique Parchment by Apple Barrel (acrylic paint).  It's attached with a cup hook on the back and some floral wire, and a little hot glue so it doesn't move too much.  I finished it with a light colored burlap bow.


Jason made me dinner awhile back (I just came actross this picture and it reminded me to give him some major kudos) on an evening that I was feeling a little blah.  Oh man.  It was so good.  He made bacon wrapped chicken bites with a cream of chicken dipping sauce, chunky mashed potatoes, and spicy green beans.  I could have eaten another plate it was so yummy, but I did have a little self control.  J is becoming quite the chef.  Sometimes his recipes flop, but when they turn out how he envisions them, they rock.  Cheesy sausage topped asparagus with toasted crackers was not a hit, but I love that he tries, and that he likes to cook for me.  Now his homemade southern mac 'n cheese.  That one has a solid place in our recipe book.  I am so lucky to be his bride:)


11.19.2012

An Autumn Craft & Mantle

When I saw this sign and a tutorial over at Ella Claire, I knew I wanted one.  Mine is a little different, but the full tutorial can be found at the link, since I can't take credit for this beauty.  I used my Kreg Jig to butt 8 boards up together, and I measured the length to match the width, so I had a big square.  Then I saved and uploaded the template to www.blockposters.com (the template is from the tutorial, and she so graciously shares it for free!) to get the size I wanted.
 
See:)
 
 
Then I painted the whole thing with acrylic paint by Apple Barrel in Antique Parchment.

 
And then spot painted with some left over blue, it was by Valspar and the color was Vintage Blue.


Like this!

 
After that, it was a bunch of sanding, then I traced the template with a pencil to leave the indentions in the wood.  Then I painted it all.  For the word Pumpkins I used Folk Art Lipstick Red, and shadowed with Apple Barrel Golden Sunset.  Apples was done in Apple Barrel Melted Chocolate.  Hayrides was done with Folk Art Pure Orange.  The arrow was done with the Melted Chocolate and outlined with the Golden Sunset.  Then, I measured and lightly drew a border around it, and painted it with Folk Art Coffee Bean.  Then, I hand sanded very lightly just to rough up the letters and edges a bit.  The last step was that I decided to stain it a little bit, so I watered down the brown paint (a lot, it is supposed to be very watery), and used a sponge brush to wipe it on, and a paper towel to wipe it off. 
 
And voila!
 

Here it is all set up on my mantle for fall!  I am in love with the way it turned out, I also made a quick Autumn banner out of burlap and braided twine to string across the front.  I cut out some large letters using my Cricut to trace onto each piece with a black sharpie.  After I braided and braided the twine, I hot glued each piece to it, spacing them about 1 1/2 inches apart.  Easy and cute!


On the hearth, I added some candles, pumpkins, and pinecones. 


Remember those clearance lanterns from Big Lots, I painted them black, and hung them above the mantle from garden hooks from Lowe's.


Candle holders now holding pumpkins.  The lanterns worked there so well.


A vase of leaves completes the other side.


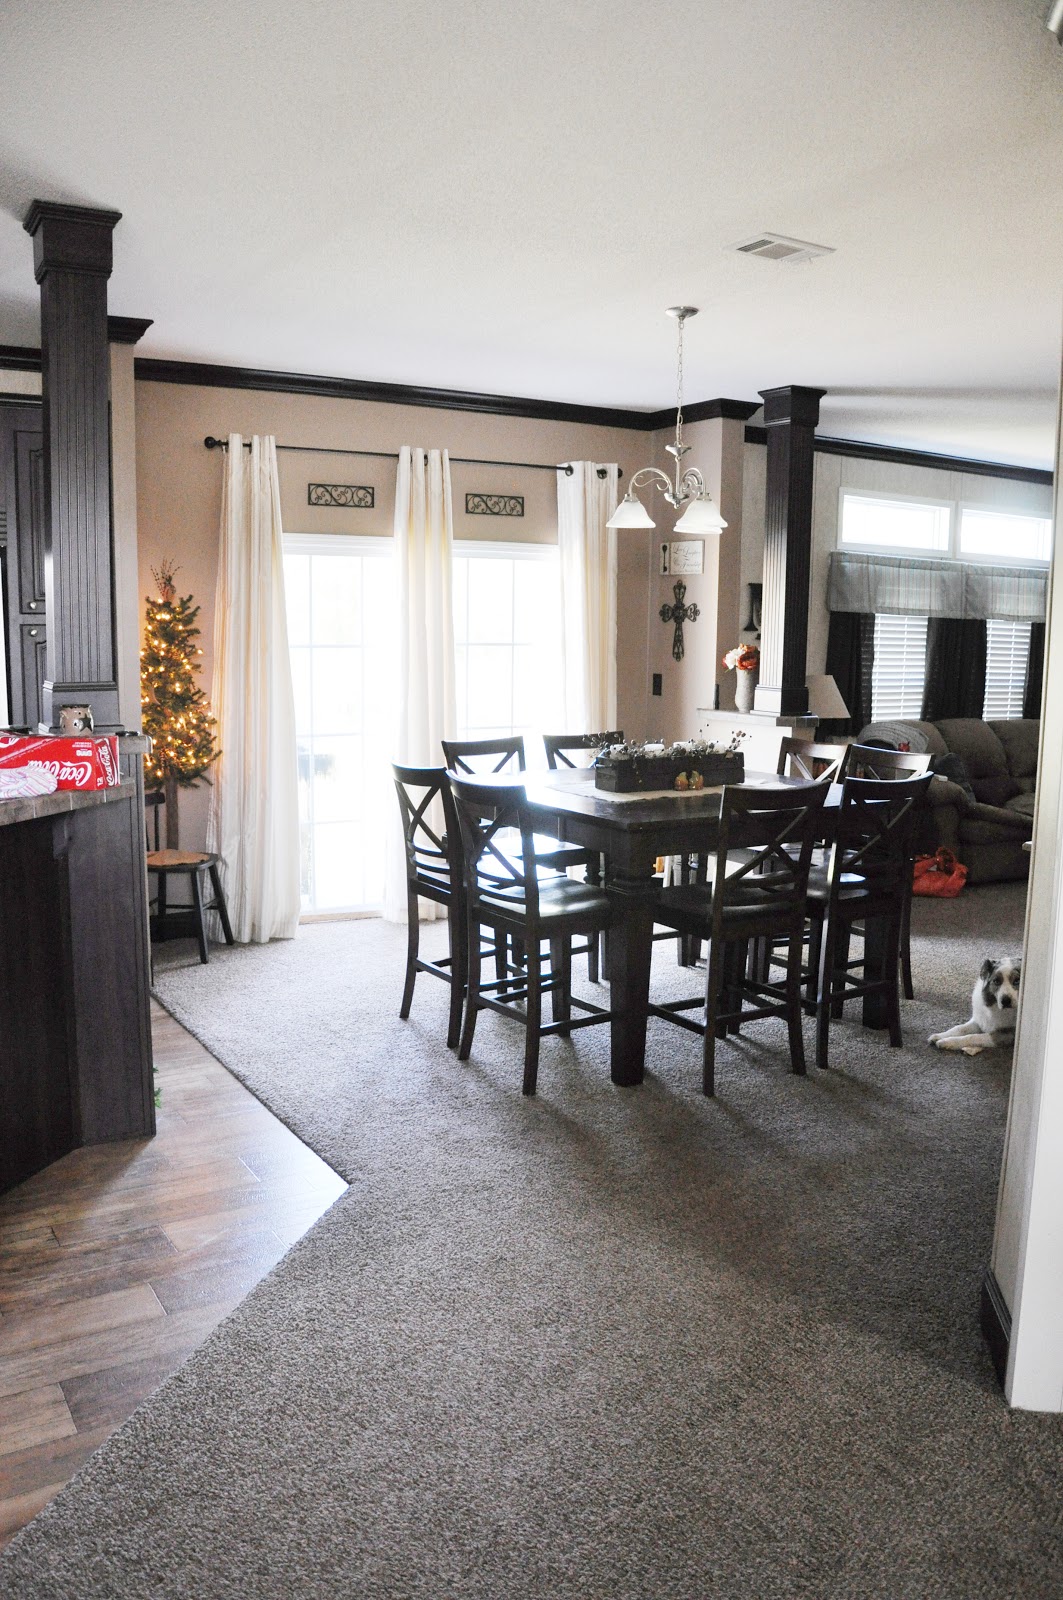
It's definitely my favorite Autumn mantle to date.  Oh, and notice our new accent wall around the fireplace.  We did that recently too.  It's a paint by Valspar called Hotel St. Francis Fawn.  It matches our couches very well.  We also painted the dining room the same color, so it kinda ties it together and breaks it up too, since the dining "room" is actually a space between the living room and kitchen/den area and not really a defined room.
 
I really like it, we added some extra long curtains to the sliding back door, and it gives it a more elegant look and fills the large space over the door with the 9 foot ceilings.  I love how Kojak photobombs a lot of my photos.  Oh well, he's a handsome boy, I guess he figures he should be seen.


Ok, now that you are all probably tired of looking at a million pictures, I'll wrap this one up.  I can't believe it's been over a month since my last post.  I took a much needed break, and we went on vacation, and about a million other things.  I will be back with vacation pictures, and some Christmas crafting very soon!  I love fall, and am a little sad it took me this long to get this post up.  I was down to the wire because, now all my fall stuf is put away, and most of my Christmas stuff is out, so I had to get this one in there before anything else, and before Thanksgiving in 3 days..can NOT believe that it is so soon.  Ok, for real.  This is the end now.

10.06.2012

A Work Bench For Me!

After my sweetness disappeared outside for a while one afternoon, I went to see what he was up to.  He was out in our shed, cleaning it out, and figuring out a plan on how to add a work space for me in our smallish work area/shed.  It was going to be complete with a flip up design so that we can move it to get our Christmas tree in and out of the corner come that time (which is SOON!).  With this plan, we needed to run to Lowe's for a few supplies.  Hinges, hooks/latches, and wood.  After wandering around this hardware wonderland, we just couldn't justify spending 30.00 on a piece of plywood that we were only going to use about a third of!  That's when we happened upon the scrap (already cut) pieces by the big cutting machine, 3 pieces about the perfect size were just being tossed off.  After flagging someone down, we asked if we could buy scrap pieces, and the guy told us we could just take them.  YES!  He just saved us 30 buckaroos, making the whole project a little under 25 dollars.  He made my day.  Well, after J did by configuring this whole project.  I got my day made twice;o)  So, home we went with the wood spanning the length of our car, over the folded down seats, and into the trunk.  But it fit.
 
Taking the wood home to get started.
 
 
Our 3 free pieces.
 
 
After some more planning, we decided to use the Kreg to butt two of the pieces together to make the top, then J framed out the bottom for extra support.  (The third piece of free wood is going to go on the top of an old broken saw horse to become a spray painting bench for me.)
 

Getting ready to attach the table top to the wall.  It was way heavier than it looked!


Added the hinges on the top to fold up, and then put on the hinged table legs that would swing down out of the way of aforementioned tree (see corner).  J also put little leg stops that are low enough on the floor that we won't trip over them, but just high enough to keep the legs in place when the table is in use.  Smart fella, that J.


Then we added two hooks to attach it to the wall in the up position when needed.


Folded up, it is so functional.

 
And then I got to add all of my stuff!  What you can't see is the other side of the shed where J's work bench is.  Mine is so much neater and prettier.  He keeps trying to sneak some of his overflow over from his bench to mine.  I'm hip to his tricks though.  They get tossed back on his side with the quickness.  No mess on my side!  Well, unless there's a project happening, but then it's only temporary mess.

 
Isn't it just SO neat (neat as in cool, but it is neat too..did you expect any less?)!  My hunny really is good to me.  Love you, Sugar Britches!
 

10.04.2012

New Hand Towel Holders

Our guest bath (the master too, really) needed some hand towel rings/holders.  I didn't want to go buy any, so we started looking through our scrap wood, and found enough 1x2 boards to make some.  The inspiration came from here.  But instead of horizontal boards, I did vertical.  I used three at 8.5 inches each, attaching them with the Kreg Jig on the backs.  I stained each board before attaching them, using Rustoleum stain in Dark Walnut.  I made a few rosettes from some extra white linen that I had from a pillow case and hot glued those suckers on, added some rubbed bronze hooks on there from Lowe's, found here, for only 1.46 a piece (score!), and attaced some saw hangers on the top corners of each one, and hung 'em!  I think they work perfectly in there.  (Sorry about the lighting, I was in a hurry, and there is not a lick of natural lighting in our guest bathroom, but you get the idea!)


Quick project that took me all of about 45 minutes to make both, and now each wall/sink has it's own towel hook.  Love it:)

9.03.2012

Hubby of the Year!

J is always hubby of the year, because he is just so wonderful to me:)  But the main reason for this post is because I appreciate him and the fact that he always supports anything that I want to do.  All my hair-brained ideas, crafting, my photography, house renovations, and most recently, my desire to start building stuff!  Furniture, signs, crates, etc.  You've seen some of the posts already.  Small projects that are teaching me the basics.  J is such a good teacher too.  Very patient with me.  But, what really just made me super happy, was that he went out and bought me a bunch of the basic stuff I needed (partially so I wouldn't be stealing his, I think).  He got me a mini tool box like his, a Kreg Jig (if you don't know what this is, look it up..they are super awesome for butting planks of wood up next to each other for table tops, signs, whatever), a new drill set, and stocked my tool box with some basic tools.  He even bought me some of my favorite stain, which I discovered on the Shanty 2 Chic blog (one of my faves).  Some of the stuff in the pictures, I already had, but he filled in with some other stuff.  This to me says he believes in me, that he thinks I can do whatever I put my mind to.  And that.  It just means the world to me.  To have a husband who supports and believes in you.  It's just awesome!  Oh, not pictured, is a table saw..that was for both of us;o)